The Key to Precision in CS2 Boost
In the heart-pounding chaos of CS2 Boost, where headshots paint the canvas with victory and defeat, crosshair placement reigns supreme. It’s the silent orchestrator, dictating the tempo of your aim, the swiftness of your reaction, and ultimately, the crescendo of triumph. For any aspiring Counter-Strike champion, mastering this art transcends mere mechanical skill; it becomes an ingrained reflex, a subconscious whisper guiding your gaze to where enemies most likely lurk.
Why Prioritize Placement?
Imagine two scenarios:
- You meticulously pre-aim angles, meticulously tracing corners with your crosshair. But when an enemy sprints around the bend, your mind scrambles to adjust, precious milliseconds lost in finding their head.
- You confidently hold angles with your crosshair already hovering where heads tend to appear. The enemy bursts out – boom! An instant headshot, an effortless symphony of muscle memory.
The difference? Efficiency. By predicting potential enemy positions and placing your crosshair there beforehand, you eliminate the need for frantic adjustments, reducing reaction time and increasing accuracy. It’s the difference between dancing with a lead weight and gliding on a cloud of anticipation.
Practicing the Art
Now, let’s waltz into the practice room:
1. Deathmatch Drills:
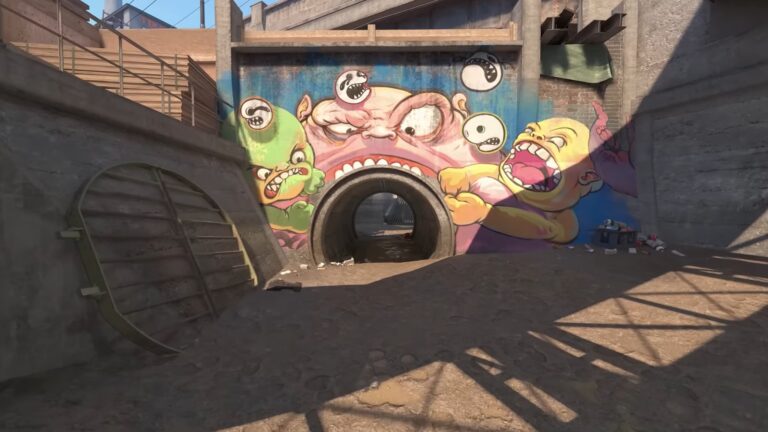
- Static Crosshair: Find a common choke point (like mid doors on Dust Bowl) and plant your crosshair on the enemy’s head level. Shoot bots that sprint past, focusing on maintaining perfect placement until it becomes second nature.
- Dynamic Drills: Move around the map, randomly stopping and instantly placing your crosshair at head level on potential enemy entrances. Repeat this until the movement and placement feel seamless.

2. Aim Maps:
- Prefire Practice: Download maps like “Prefire Training – Recoil Control” and practice pre-aiming at targets that pop up in various locations. Gradually increase difficulty and speed to challenge your instincts.
- Flick Training: Maps like “Training_aim_cs2” help train your crosshair placement and flick accuracy. Focus on snapping your crosshair to targets that appear randomly, aiming for headshots.

3. Visual Reminders:
- Crosshair Color: Choose a bright, contrasting color for your crosshair that pops against the environment, aiding in quick visual acquisition.
- Spray Patterns: Learn the spray patterns of your favorite weapons. Understanding where bullets land at different distances lets you pre-aim for headshots even when spraying.

Scenarios and Strategies
Peeking:
- Slow Peeking: Hug walls and slowly peek corners with your crosshair pre-aimed where the enemy’s head would likely be.
- Burst Peeking: Quickly peek corners while pre-firing a short burst, ensuring your crosshair covers potential head positions.

Holding Angles:
- Crosshair Height: Keep your crosshair at head level, adjusting slightly based on the distance you’re expecting enemies from.
- Jiggle Peeking: Minimally shift your crosshair left and right while holding an angle, making it harder for enemies to predict your position.
Entering Bomb Sites:
- Clear Corners: Systematically sweep your crosshair across every nook and cranny, avoiding predictable patterns that enemies can exploit.
- Anticipate Flashes: Expect flashes on entry and pre-aim common flashbang spots, ready to counter-strafe and shoot if blinded.
Remember:
- Muscle Memory is Key: Consistent practice builds muscle memory, making crosshair placement an instinctive reaction rather than a conscious effort.
- Analyze and Adapt: Watch pro players, study their crosshair placement, and adapt their strategies to your own playstyle.
- Patience and Persistence: Mastering crosshair placement takes time and effort. Don’t get discouraged, celebrate small improvements, and enjoy the journey to becoming a headshot maestro.
So, equip your weapon, step onto the virtual battlefield, and embark on your dance with the silent maestro. With dedication and practice, your crosshair will become an extension of your will, a silent promise of precision and dominance in the exhilarating world of CS2.
Visual Examples:
- Include images showcasing proper crosshair placement for different scenarios like peeking corners, holding angles, and entering bomb sites.
- Use crosshair overlays highlighting head-level placement and target anticipation points.
Tips:
- Consider mentioning the importance of understanding weapon ranges and adjusting crosshair placement accordingly.
- Explain the concept of “crosshair placement sensitivity” and how to optimize it for your preference.
- Emphasize the value of analyzing your own gameplay and identifying areas where crosshair placement needs improvement.
Mastery is a Journey, Not a Destination
In the heat of a CS2 firefight, milliseconds are lifeblood, and victory hinges on the razor-sharp edge of precision. Mastering crosshair placement isn’t just about acquiring targets; it’s a dance with anticipation, a whispered promise of headshots before enemies even dare to peek. It transforms chaos into controlled aggression, transforming your gaze into a lethal premonition.
Sure, aim drills and flick challenges hone your reflexes, but the true waltz begins in the crucible of real matches. Analyze your victories and failures; dissect your replays, pinpoint areas where a slightly more deliberate crosshair placement could have redefined the outcome. Every millisecond saved, every bullet singing its deadly aria at cheekbone height, is a testament to your dedication to this unspoken art.
In CS2 Boost, mastery is a journey, not a destination. So, equip your weapon, let instinct guide your crosshair, and embrace the thrill of the headshot symphony. With every well-placed pixel, you dance closer to dominance, carving your name in the annals of CS2 legends, where precision echoes long after the bullets have settled. So, go forth, maestro, and paint your masterpiece on the battlefield.


